CS180 Project 3: Face Morphing
Deniz Demirtas
In this project, we will explore various warping and morphing scenarios over various images and me.
Part 1: Defining Correspondences
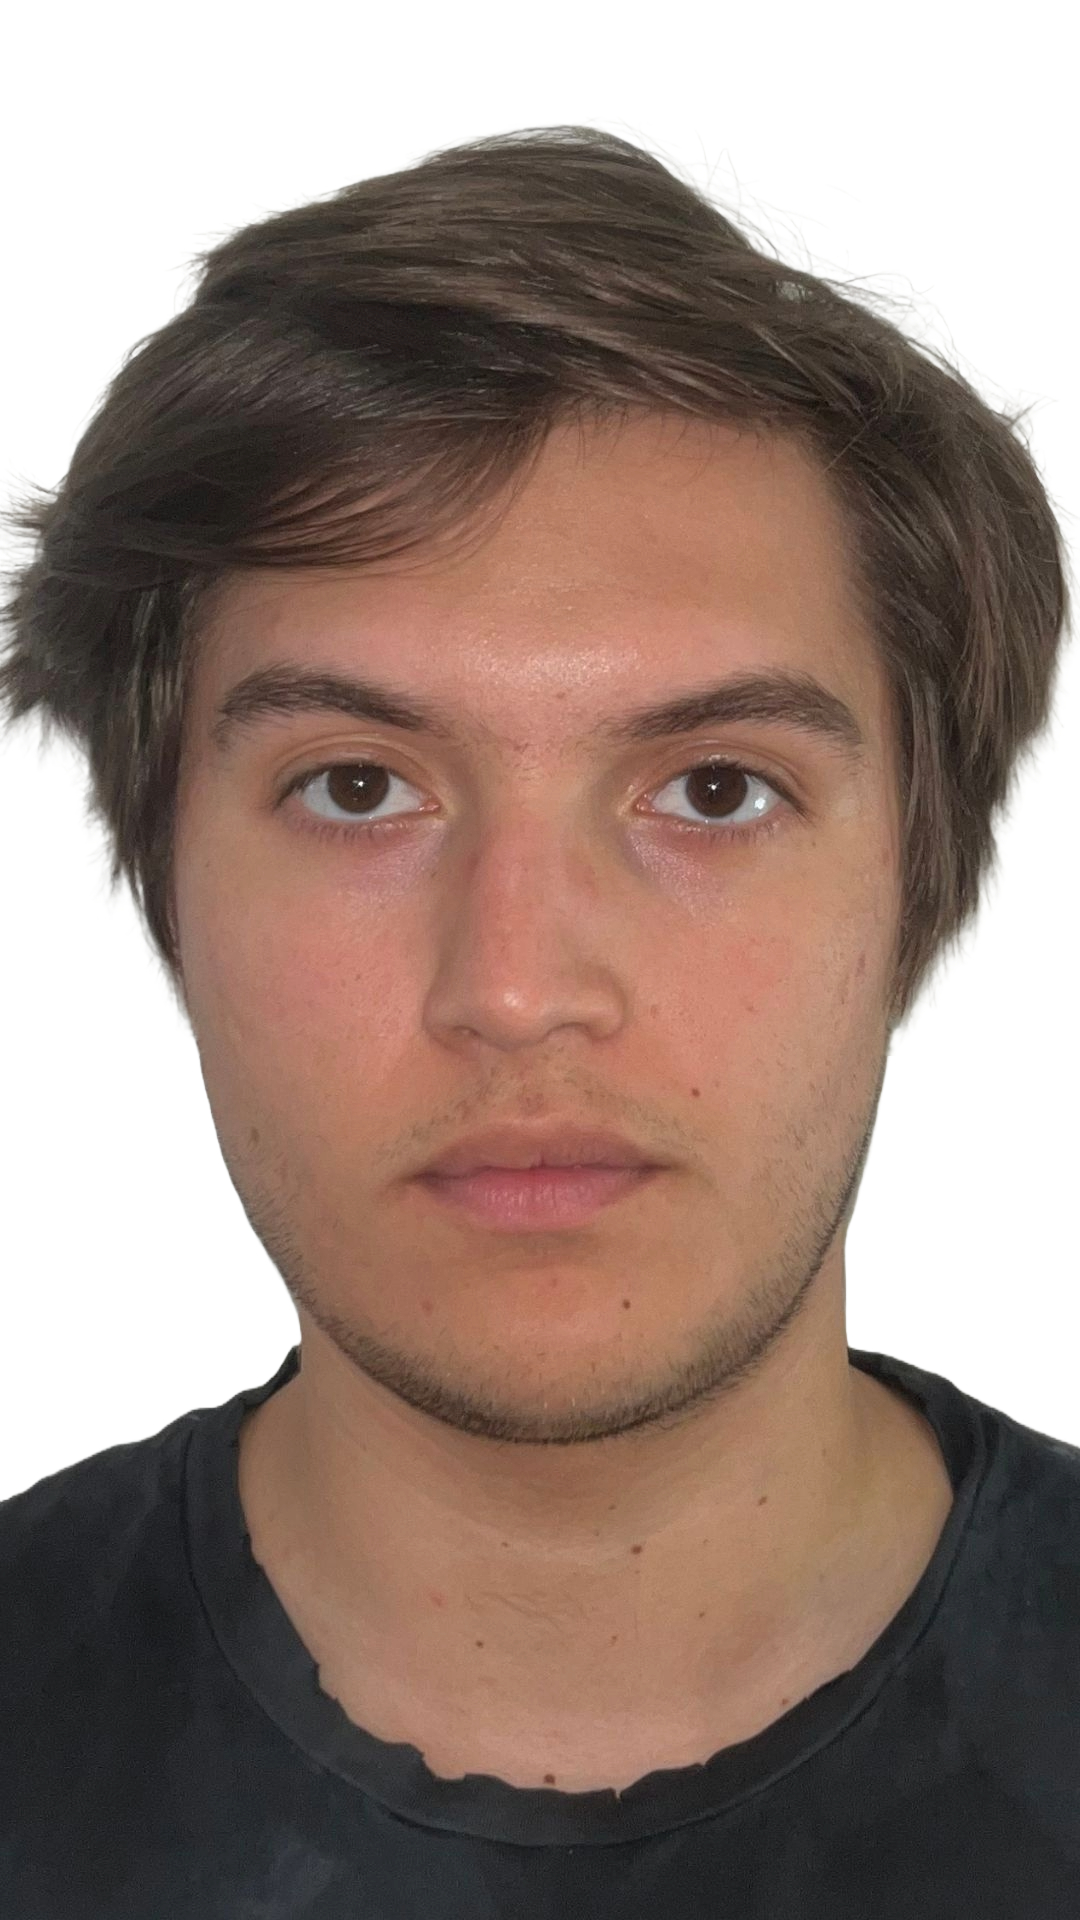
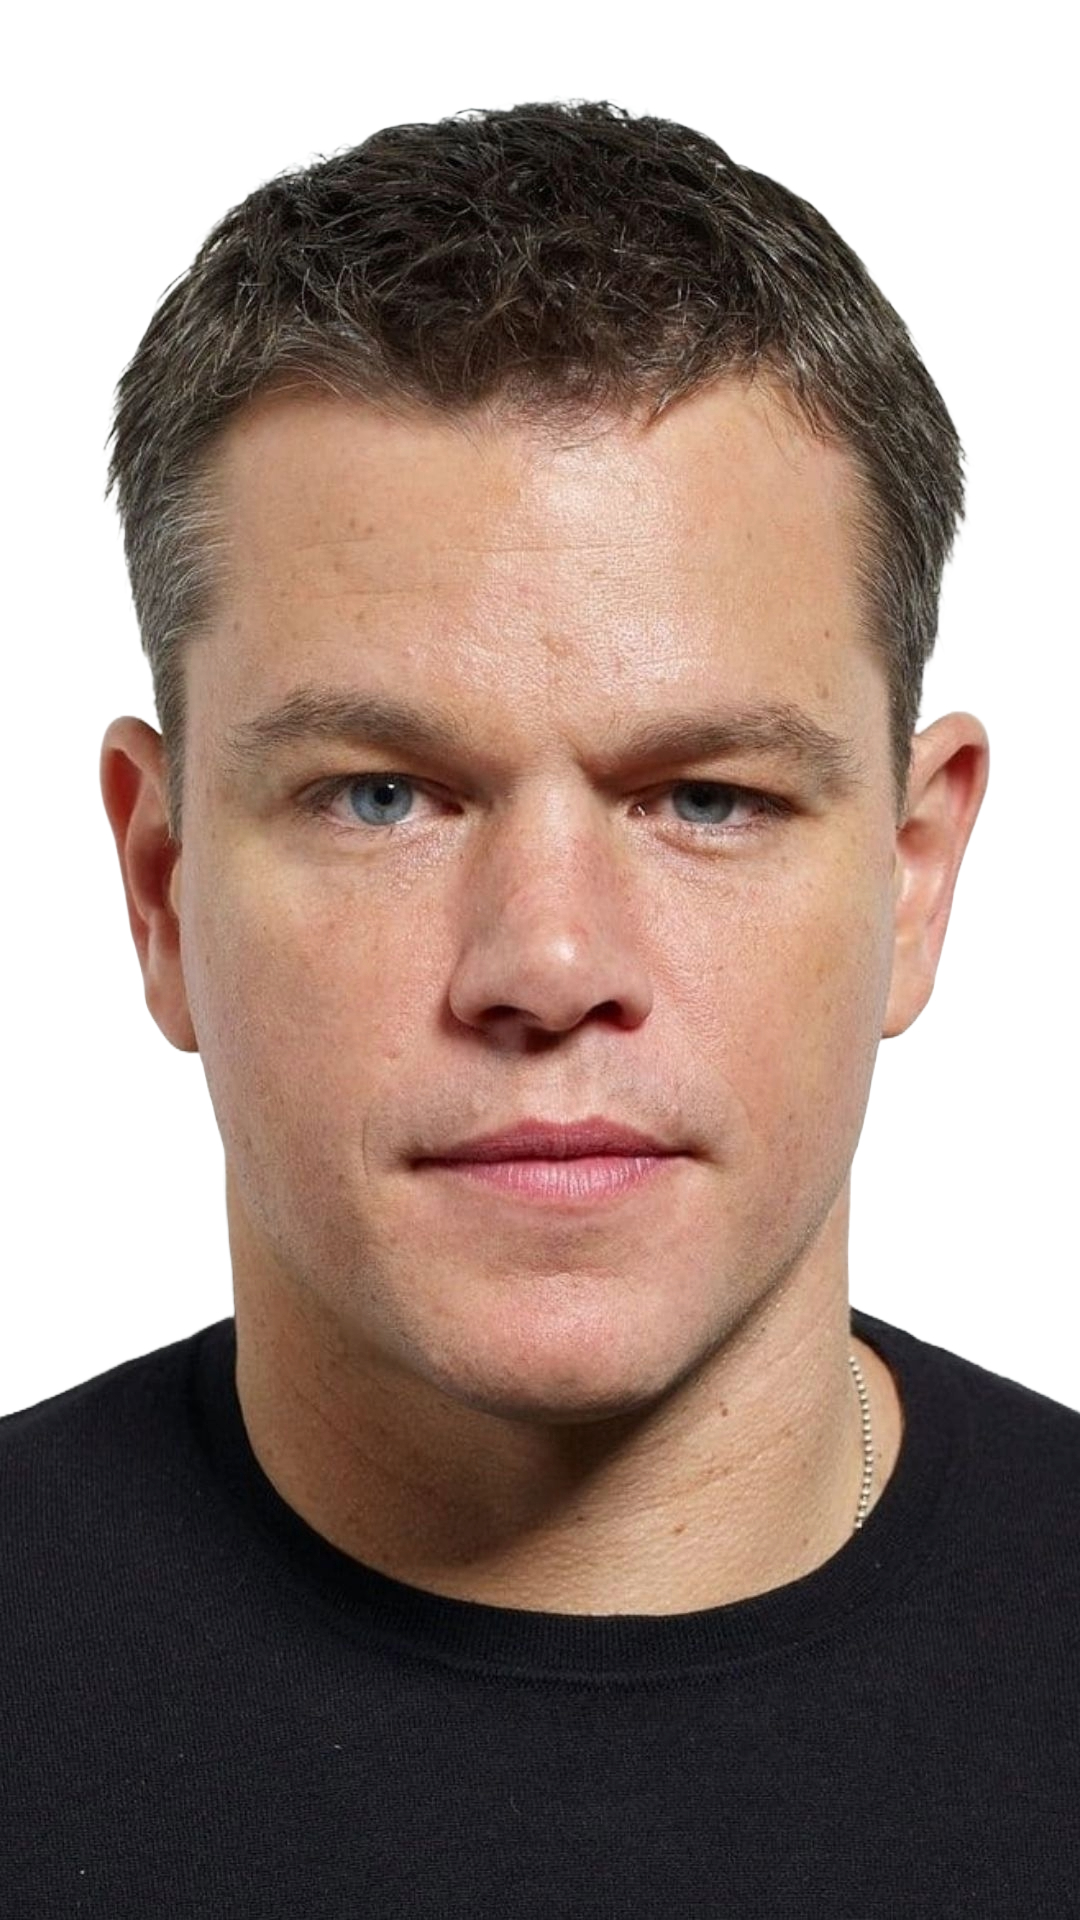
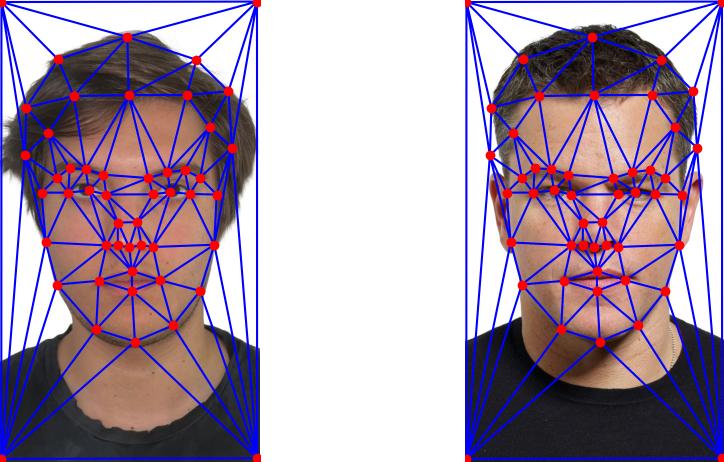
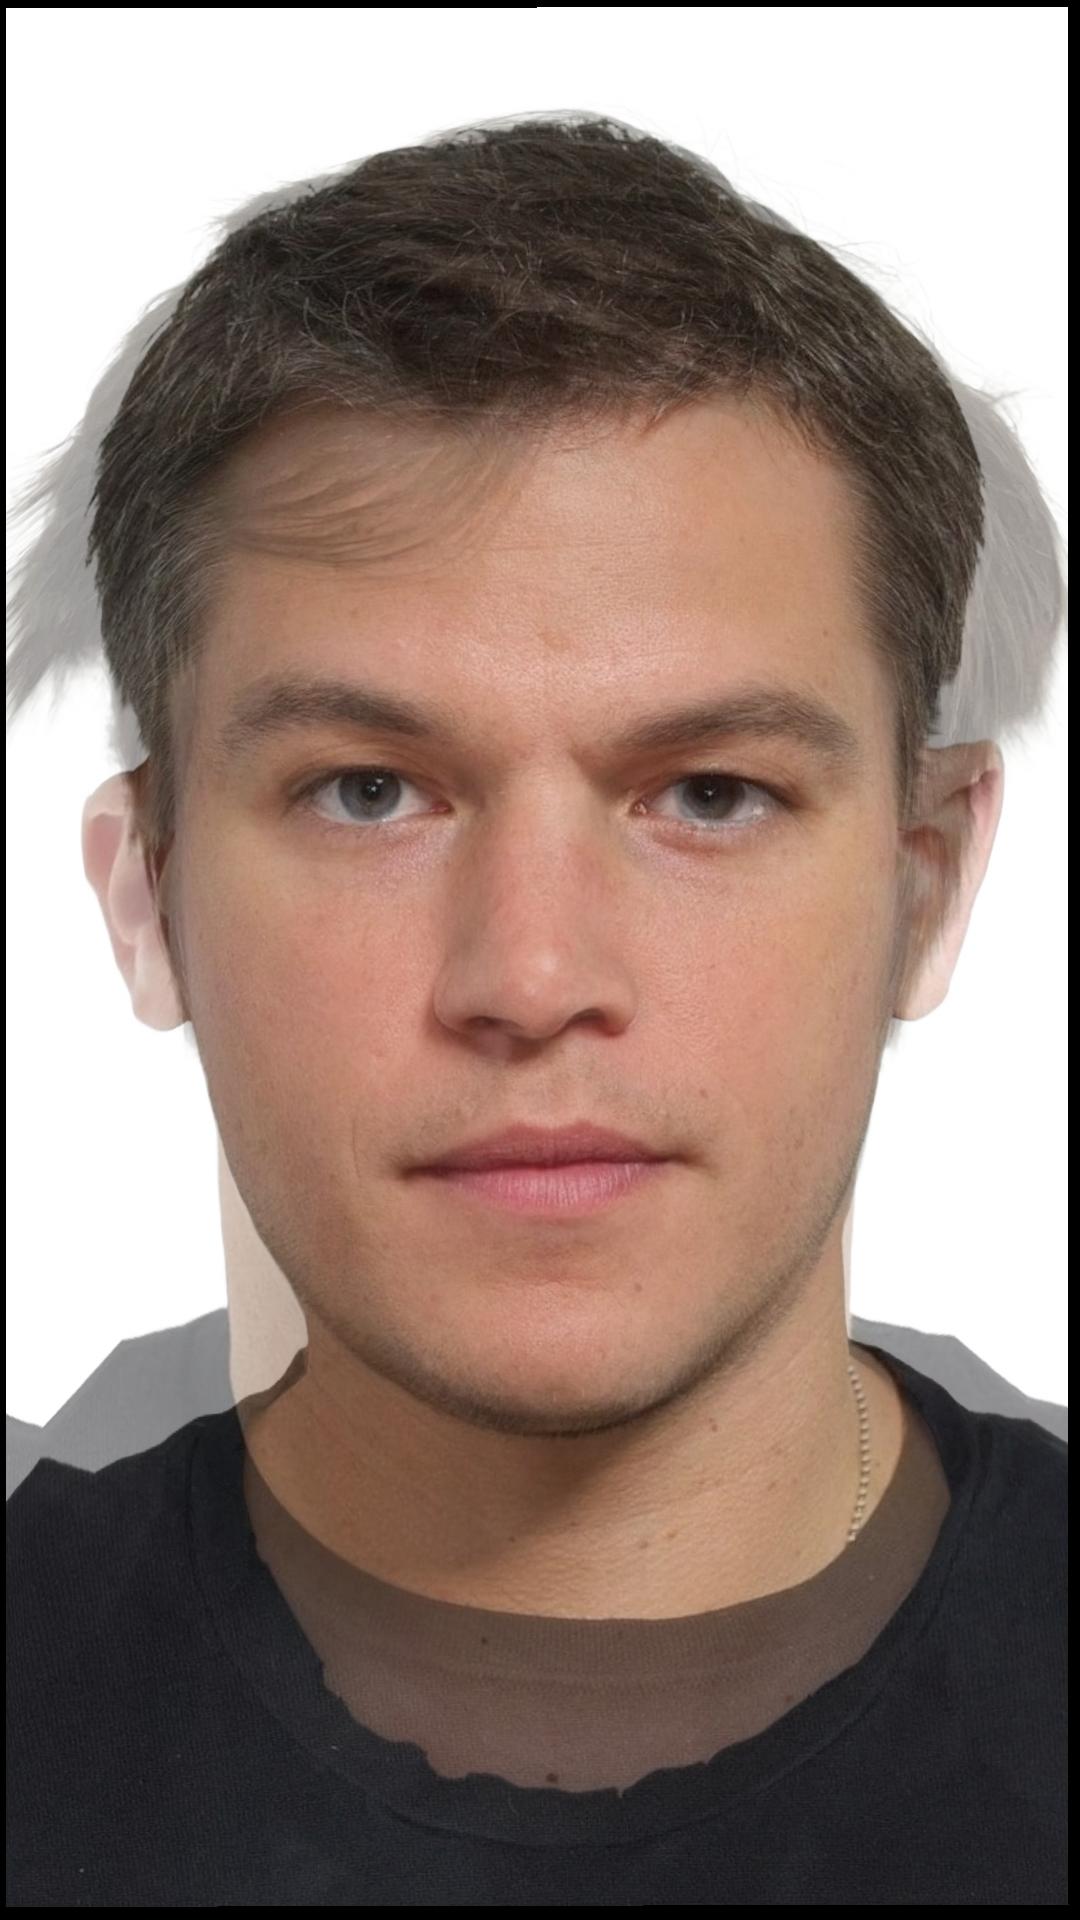
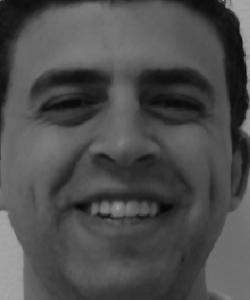
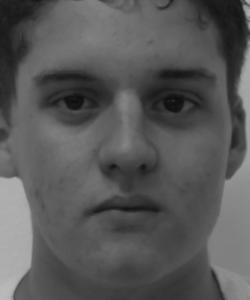
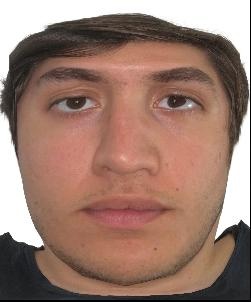
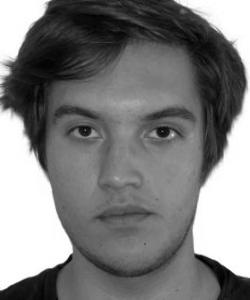
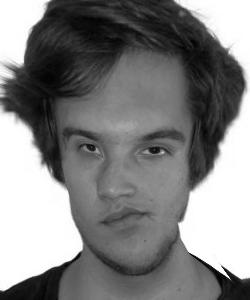
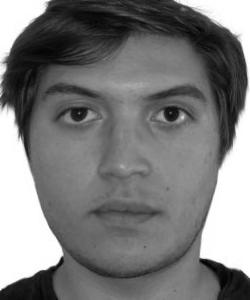
Our first task is to define the correspondences on the two images that we want to merge together. Defining the correspondences will enable us to generate Triangulation over the two faces, which will enable us to proceed with a smoother morphing of the faces. To define the correspondeces, I used the online tool that one of the students from the previous semesters built (kudos to whoever that person is). Using the online tool, I have selected 50 correspondeces on the images of me and one of my favourite actors, Matt Damon.
Original Images
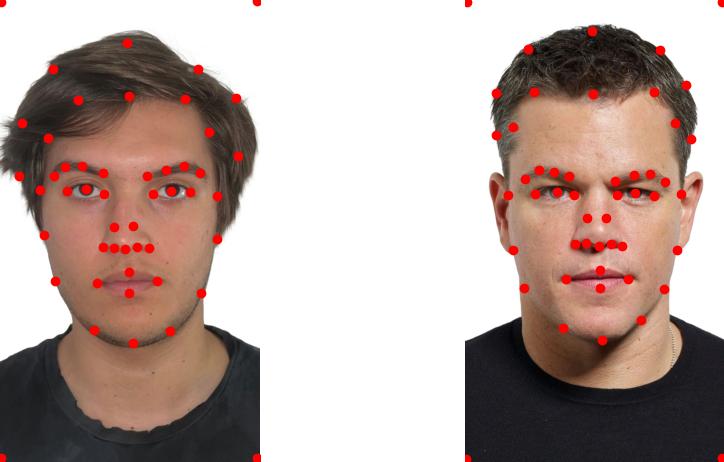
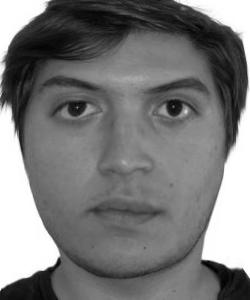
Facial correspondeces: Respective Correspondences
Now that we have corresponding points from both images, we use Delaunay triangulation to break the face into triangles, enabling us to morph each triangle individually. This approach ensures smooth transitions between key facial features and prevents gaps or overlaps. By morphing triangle by triangle, we can preserve the local structure of the face and avoid distortions during the transformation. In order to reduce errors when creating the Delunay Triangulation's of the images, we do so on the average of the correspondeces from both images, by doing so, we reduce the potential triangle deformations
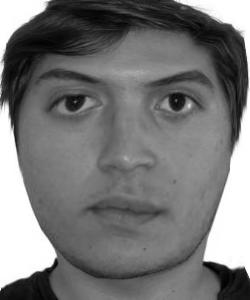
Facial correspondeces: Midway points between two images
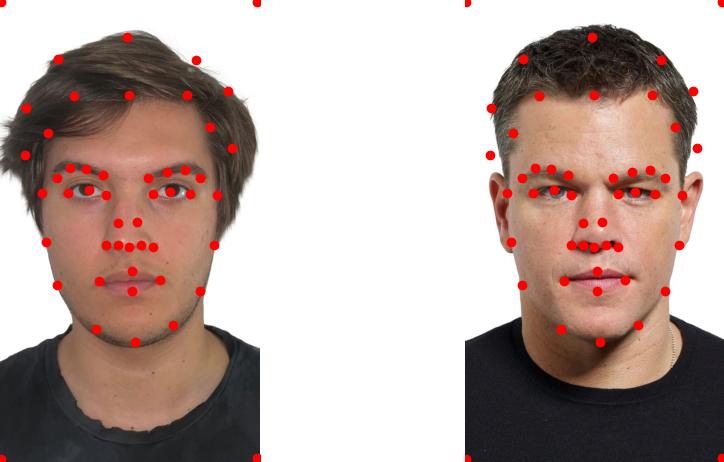
Triangulation over midway points
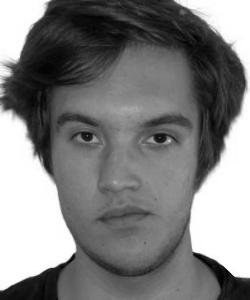
Part 2: The "Mid-Way Face"
Before computing the morph sequence, we first create the mid-way image, which is a 50-50 blend of the two images. The morph sequence is simply a frame-by-frame blend with changing blend percentages. Once we have the mid-way points and triangulation, we calculate the affine transformation matrix for each triangle in both images to map them to the corresponding triangle in the mid-way image. Directly applying this transformation could cause overlapping or out-of-bound pixels. To prevent this, we use the inverse affine transformation to "pull" pixels from the mid-way image back to the originals. Since this doesn't guarantee precise 1:1 mapping, we use bilinear interpolation, which averages pixel values based on their distance to neighboring pixels, ensuring smooth and accurate results.
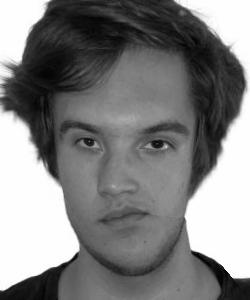
Part 3: The Morph Sequence
Now, we apply the morph algorithm with varying blend percentages, transitioning from 0 to 1 over 60 frames to generate the following morph sequence
Original 60 frame animation has been resized for uploading purposes
Part 4: The "Mean Face" of a Population
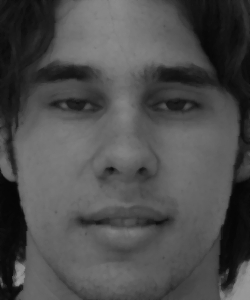
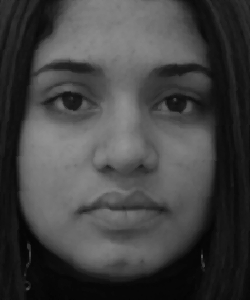
For the following part, I have choosen the FEI Face Database and seperated the images based on the smiling and the non-smiling ones. Then I computed the average shape of the smiling and non smiling populations. This consisted of calculating the average geometry of faces in the dataset, then morphing every image to the average geometry, and then finding the average face over the morphed images.
Average Faces of Populations

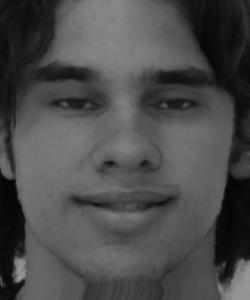
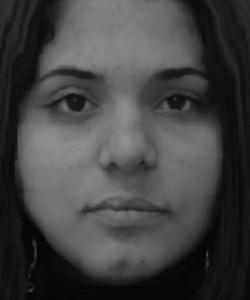
The average smiling face
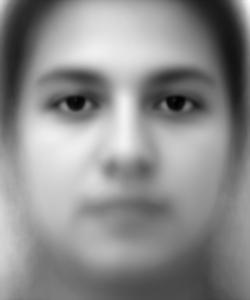
The average non smiling face
After we have the average faces and their respective average correspondence points. We can morph the images in the dataset to the average images. However, when I tried to do so, I ended up with results that didn't encapsulate the entire image. Then, I realized that the issue is because of the lack of correspondences on the corners of the images. This caused the morphed images to only have the center morphed, but not the corners. To fix this, I manually inserted correspondences to the corners, and re-run the algorithm to arrive at the above results.
Dataset Faces Morphed Into The Average
Now in the images below, I have morphed all the images from the dataset to the average face calculated. Here are some examples:
Face 193b smiling (original)

Face 193b smiling (morphed to average smiling)
Face 148b smiling (original)
Face 148b smiling (morphed to average smiling)
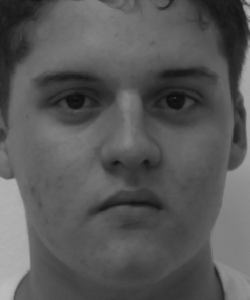
Face 110a non-smiling (original)
Face 110a non-smiling (morphed to average non-smiling)
Face 167a non-smiling (original)
Face 167a non-smiling (morphed to average non-smiling)
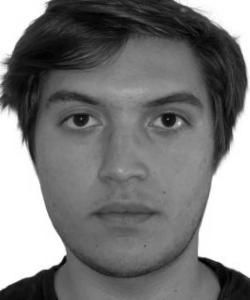
Me and the Averages
Now that I have the average faces, I have morphed my face into the average geometry and the average face to the geometry of my face. Here are the results:
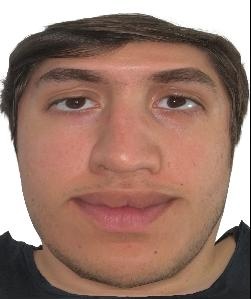
Me morphed to the average smiling geometry

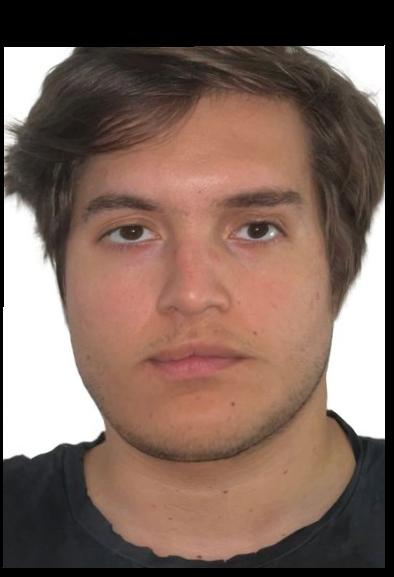
Me
Me morphed to the average non smiling geometry
Here is the average non smiling face morphed to my face geometry:
Me

Average morphed to my geometry
Average face
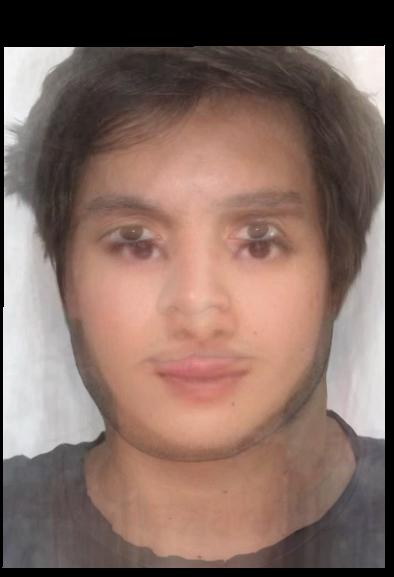
Part 5: Caricatures, Extrapolating from the mean
In this section, we generate caricatures of my face by performing extrapolation with respect to the average face geometry. The core idea is to exaggerate the differences between my facial features and the average face by adjusting the alpha parameter. As we increase the value of alpha, the unique characteristics of my face become more prominent, amplifying the distance between my face and the population mean. Conversely, when alpha is reduced (toward negative values), my facial features are de-emphasized, and the geometry tends to align more closely with the average face.
Technically, this process involves the extrapolation of facial landmarks. Given the landmarks of my face and the average face, we compute a new set of landmarks using the formula:
New Landmarks = My Landmarks + alpha × (My Landmarks - Average Landmarks)
Where:
- My Landmarks represent the positions of facial keypoints on my face.
- Average Landmarks are the corresponding keypoints on the average face.
- Alpha controls the degree of exaggeration or moderation. When
alpha = 1, my facial features remain unchanged. Whenalpha > 1, the distinctive features of my face (e.g., the shape of my eyes, nose, and mouth) are exaggerated, leading to a caricature. Foralpha < 1, the features shift towards the average, resulting in a face with reduced individual characteristics.
This extrapolation method allows us to visualize how my face deviates from the average in both shape and proportion. By manipulating the value of alpha, we can create a spectrum of caricatures ranging from subtle modifications to extreme exaggerations, demonstrating the variability of human facial features in a controlled and systematic manner.
More me: ⇛
alpha = 0.25
alpha = 0.50
alpha = 0.75
alpha = 1.00
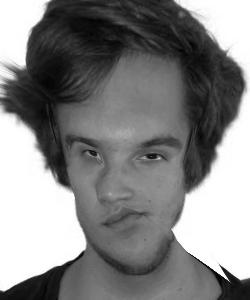
alpha = 1.25
alpha = 1.50
My comment on this results are so that, since my nose has a sway to the left, as we extrapolate on my facial features, this sway becomes dominant to the point of disturbing the entire face geometry.
Me
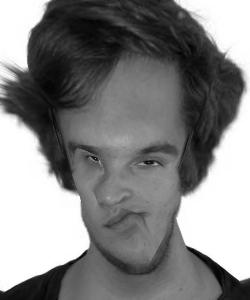
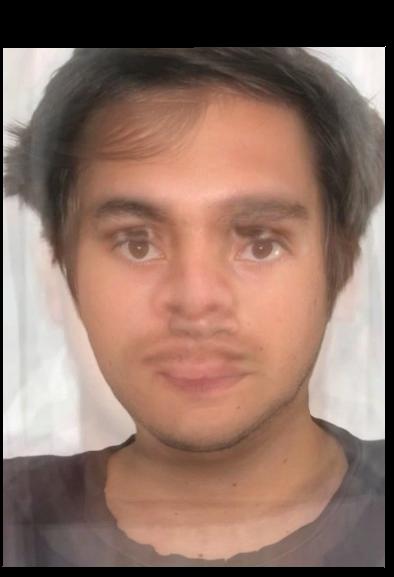
More Average: ⇛
alpha = -0.25
alpha = -0.50
alpha = -0.75
alpha = -1.00

alpha = -1.25

alpha = -1.50
Conversely, as we extrapolate further towards the average face, you can notice my nose getting straighter, which is understable as we move further towards the average geometry, but it results in the increase of my left cheek to account for the changing geometry.
Bells & Whistles
For the bells and whistles, I wanted to explore how I would look with the average geometries of various races and genders. Although, I can't pass without saying, the class wide morhing of the faces was a genious idea. I haven't read that line of the B&W quite to the last days, I wish I had seen it sooner and we had it realized, but incredible idea from the staff.
As unfortunately, I don't have the time to initiate the class wide chain, I decided to experiement changing my images gender/race. Here are the results:
Only Shape
Me

Me as the average chinese women actor
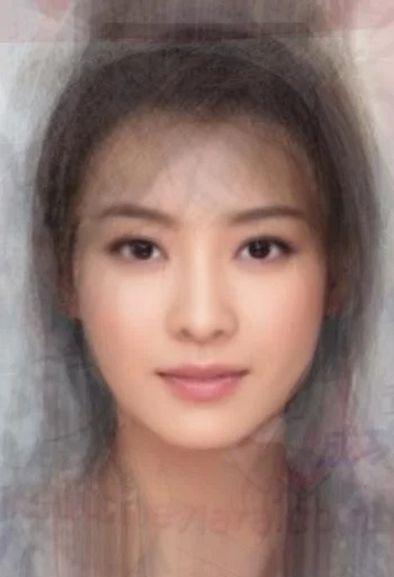
Average Chinese girl
Me
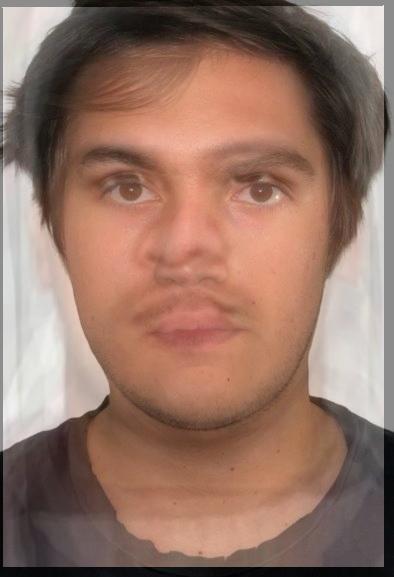
Me as the average Samoan male
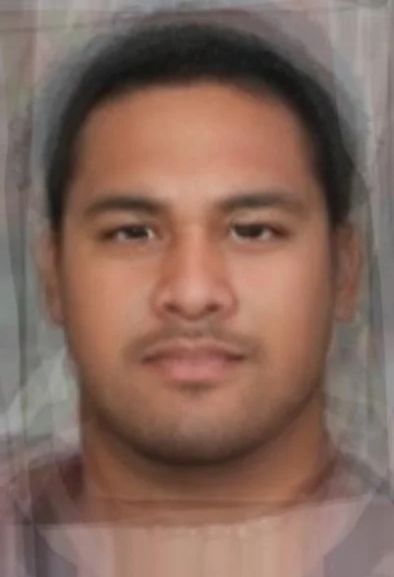
Average Samoan Male
Only appearance
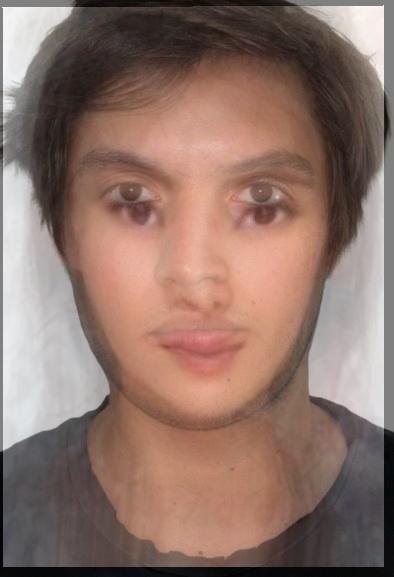
Me as the average Chinese women actor
Average Samoan Male
Both appearance and shape
Me as the average Chinese women actor
Average Samoan Male